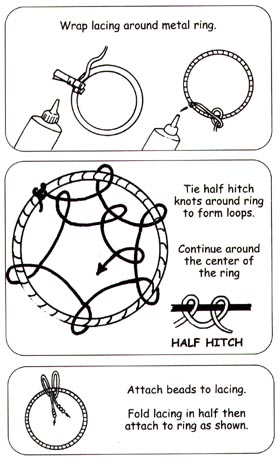
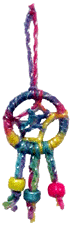
Pocket Dream Catcher
|
|
Great recycle craft project for the Girl Scout Senior Collage Artist badge, Earth Day project or for fun
Use recycled materials for this Earth Day craft. Also great way to teach girls to use resources wisely while working on the Green Daisy Petal or the Brownie House Elf Badge.
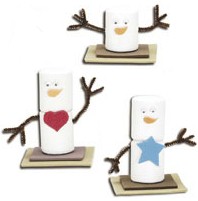
Girl Scouts will have fun when they use foam marshmallows and craft sheets to create s’more snowman ornaments.
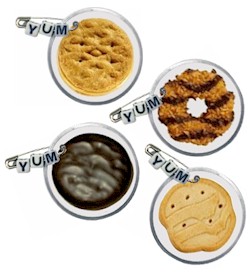
Cookie stickers on metal rimmed tags with letter beads make yummy Cookie SWAPS.
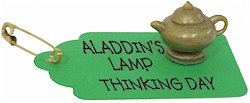
Create magic with your Aladdin Lamp if you’ve chosen a Middle Eastern country, such as Saudi Arabia, Turkey or Egypt for Girl Scout Thinking Day or International celebration.
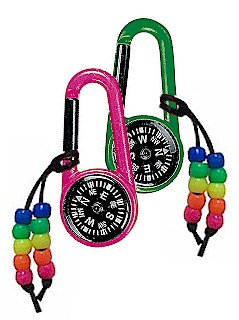
A few bright pony beads make your compass not just functional but a fun accessory for any Girl Scout.
No products in the cart.
 Pocket Dream Catcher