- Description
- Additional information
- Reviews (3)
Description
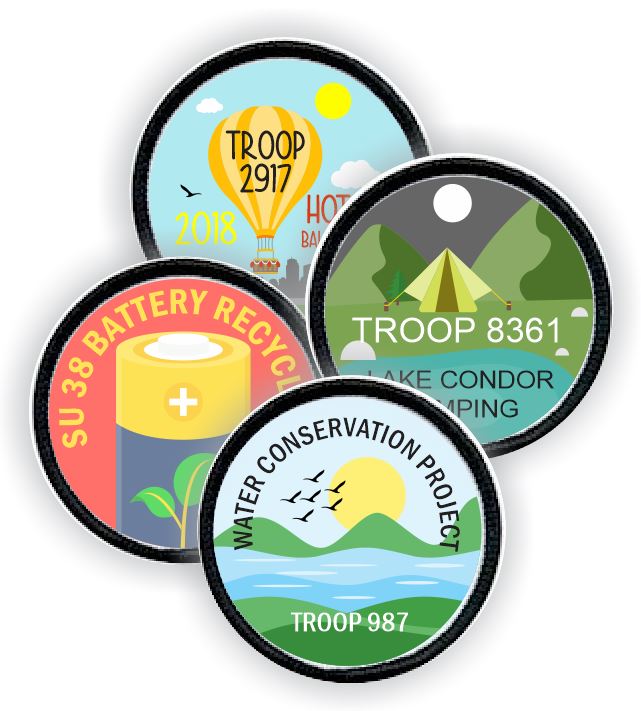
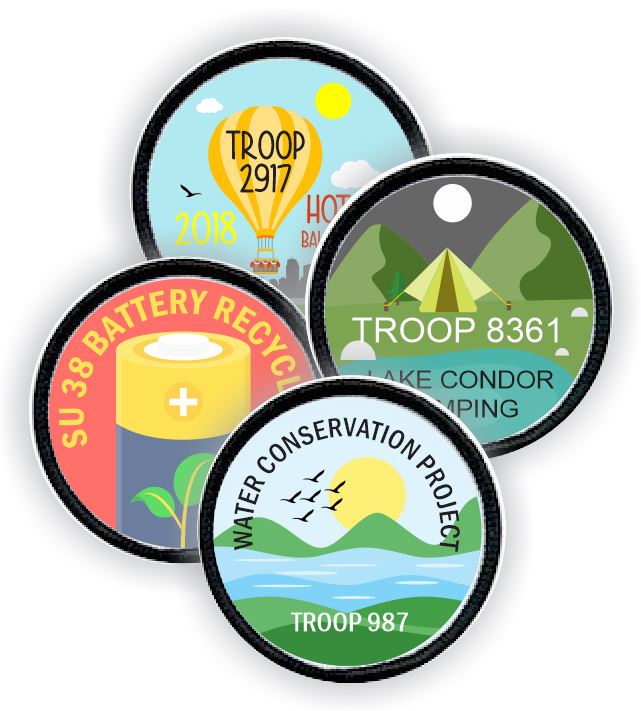
Now you can make your own custom patches without the long wait time and high cost for low quantities. Each piece of fusible fabric is enough to make 12 2.5″ round patches that can be fused onto our blanks. Use Avery template 5294 for 2.5″ circle template. Cut 1/8″ inside to allow for embroidered border.
Kit Includes:
- 12 Round 2.5″ Patches with Embroidered Border
- 1 Piece 8.5″ x 11″ Fabric Sheet
It’s easy!
- Design your patch in any computer program. Make it 2.25″ to allow for the embroidered border.
- Duplicate the art 11 times to fit on a standard letter size sheet.
- Print on any ink jet print.
- Cut out around the outside of the circles.
- Position the blank patch on your vest. Lay the cut out fabric circle on top of it.
- Use the tip of a hot iron to secure the position. Then fuse for 20 seconds. Turn over. Fuse again.
Tip: Wide flat irons make it even easier to fuse!
Additional information
| Weight | .02 lbs |
|---|---|
| Dimensions | 1 × 1 × 1 in |


Youna M. – :
Carleigh – :
I don’t usually make reviews, but this product was amazing. I was a bit uncertain when I made my purchase, but the finished product looked very professional. This is NOT a transfer sheet, so there is no need to worry about printing in mirror image or concern yourself with the image fading. The way the image prints on paper will be the way the image prints on their fabric. The badges were very sturdy and had a nice sized threaded border. Ironing the printed-on-fabric to the patch was very easy. I can not find a flaw in this product (I even tried running the patch under water to get the ink to run and nothing happened).
The company itself seems fine. I got email notices when I made my purchase, when it was shipped, and when it arrived. The shipping was fast. Plus, the price is great! I will definitely purchase again.
MakingFriends.com – :
Troop leader Tesia shared on Facebook: I’m in love with your blank patches. This was a fun way to make a custom patch.