A Memorable Indoor Camping Sleepover with Daisy Troop 75906!
Hello! My name is Jennie Pilkey, I am a co-leader for Daisy Troop 75906. This is our first year as a troop, and the first year for all but 3 of our girls as scouts.
This marks our inaugural year as a troop, with only three of our girls having previous scouting experience. Excited about the prospect of camping this spring, the girls expressed a desire to have a “practice” campout. This would allow them to experience a night away from home while staying close to their parents. After some thoughtful consideration, our wonderful troop leader, Robin Lillibridge, graciously offered to host an Indoor Camping Sleepover at her home.
Not a DIY Kinda Girl?
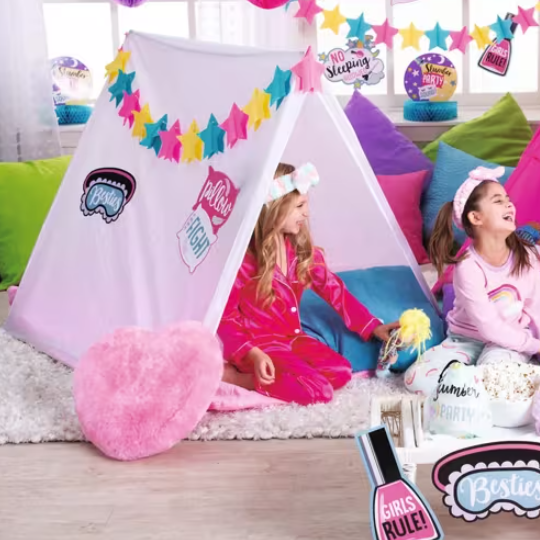
For about $25 each you can get an easy-to-assemble kit that the girls can decorate and use over and over!
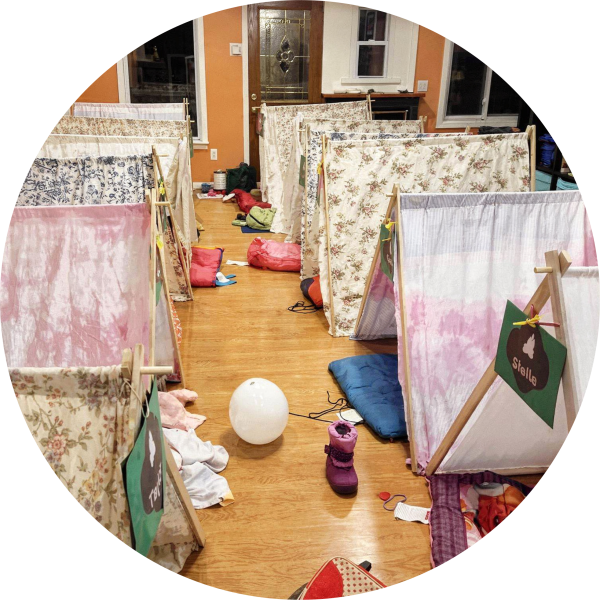
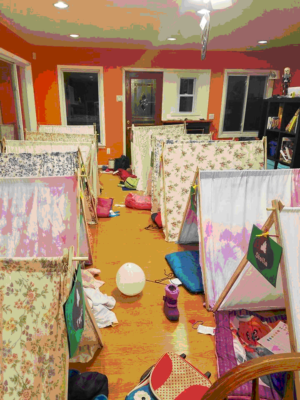
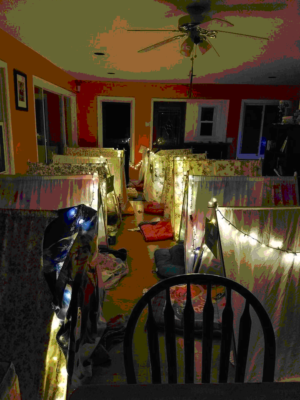
Our goal was to help the girls feel at ease spending the night away, while also fostering connections with each other and with us, their leaders. We organized a series of engaging activities that would not only be enjoyable but would also enhance their camping skills and strengthen friendships. One of the highlights was creating tents for the girls to sleep in, which turned out to be the absolute favorite part of the night! The girls were thrilled with their tents. Thanks to donations of old sheets and wood, we only needed to purchase the hardware, making it a budget-friendly project. The results were fantastic, and the tents were a massive hit with everyone!
We’ve included some patch suggestions to reward those who participate in the event.
See all our fun patches and Daisy Downloads
How to Make Your Own Indoor Tents
Here’s a summary and a step-by-step breakdown of your instructions for clarity and ease of understanding:
Materials Needed
- 1 – 48″ dowel rod
- 6 – 44″ x 1″ x 3/8″ lumber (lath)
- Fabric (44-48″ wide and at least 96″ long)
- 4 – 3/4″ x 3/4″ right angle brackets
- Ribbon/Twine/Chain (for securing the crossing wood)
Tools Required
- Table saw
- Drill with 1/2″ and 3/8″ bits
- Sewing machine (for fabric)
- Screwdriver
- Measuring tape
Step-by-Step Instructions
- Prepare the Wood:
- Acquire 1″ x 3/8″ lath pieces. Use a table saw to cut off the pointed tips, which will give you approximately 44″ lengths for your project. These will serve as the feet and cross supports.
- Purchase 1/2″ x 48″ round wooden dowel rods. Buy 96″ rods and cut each in half to create four 48″ pieces, as the extra length helps secure the crossing wood.
- Drill Holes:
- Drill a 1/2″ hole 2″ down from the top of each dowel rod. This will allow the dowel rod to fit through the fabric pocket.
- Drill a smaller 3/8″ hole 5″ lower down the same rod. This hole will be used to thread the ribbon, twine, or chain to prevent the crossing pieces from separating too widely.
- Prepare the Fabric:
- Take your fabric (sheets work well) and fold the long side in half.
- Sew a pocket by stitching about 1″ away from the folded edge.
- For the opposite edge, fold over at least 2″ to create a hem and sew it down. This will create a secure pocket for the dowel and hems for the stakes.
- Assemble the Structure:
- Insert the dowel rod through the pocket created in the fabric.
- Push one lath piece through the two hems of the fabric on either side of the dowel. This setup should allow the rest of your structure to dangle freely.
- With a second person’s help, spread out the two ends of the lath pieces approximately 48″ apart.
- Secure the Structure:
- Attach the right angle brackets to secure the feet to the angled lath pieces.
- Use a ribbon to tie and secure the legs, keeping them at approximately 48″ apart. Note that the ribbon might stretch slightly, but it shouldn’t affect the integrity of your design.
Final Touches
- Ensure that everything is secure and stable before using the tent. You may want to test its strength and stability based on its intended use.
The addition of a second person during assembly is a great tip for making the process smoother!
And the Fun Begins
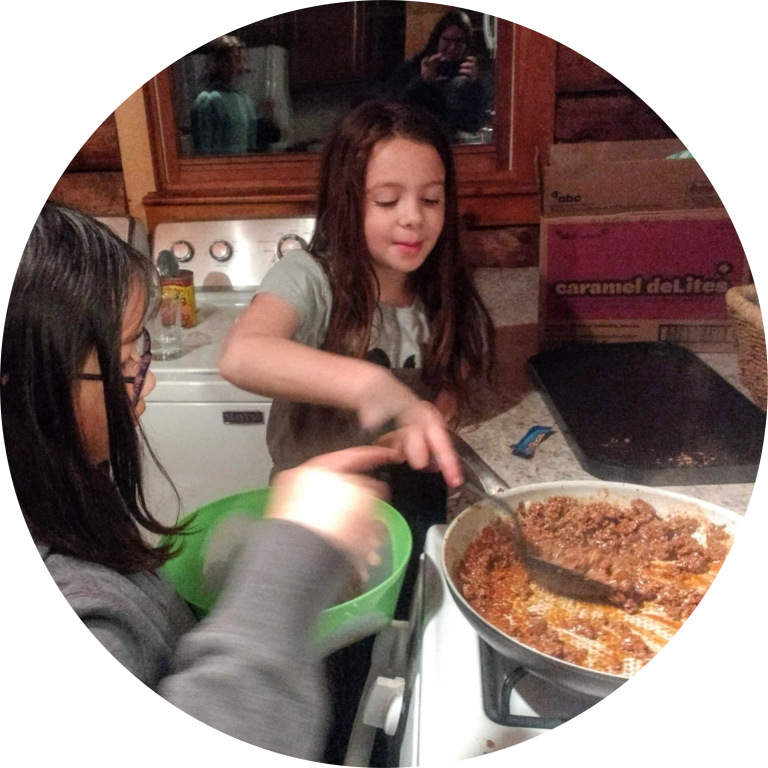
Once the girls arrived and saw their tents, they were super excited to spend the night in their new, personalized space. We started off with dinner, each girl made their own personal sized pizza. After dinner, we helped the girls make s’mores. Since we were inside with limited space, and using the stove to roast the marshmallows, we decide to have the adults roast the marshmallows, and let the girls assemble the s’more.
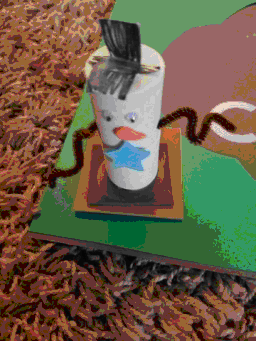
We also had a fun craft s’more for them to make. Each girl got to design their own “S’more man” to take home with them as a keepsake for their first “camp in”. They were adorable!!
-


Tentalo Camping Patch-Clearance
Original price was: $0.99.$0.49Current price is: $0.49.
-


Fairy House Build Patch Program®
Original price was: $0.99.$0.75Current price is: $0.75.
-

Rock Painting Patch-Yellow
Original price was: $0.99.$0.75Current price is: $0.75.
-

Fishing Fun Patch- Fish with Hat
Original price was: $0.99.$0.75Current price is: $0.75.
-

Bird Watching Patch
$0.69
-

Archery Patch-Blue
Original price was: $0.99.$0.75Current price is: $0.75.
-

Rock Painting and Hiding Patch Program®
Original price was: $0.99.$0.75Current price is: $0.75.
-

Nature Scavenger Hunt Fun Patch
Original price was: $0.99.$0.75Current price is: $0.75.
-

Stand Up Paddling Patch
Original price was: $0.99.$0.69Current price is: $0.69.
Camping Crafts for the Daisy Level
A friend generously donated some coffee filters, so we decided to create a framed trefoil sun catcher. (And look at us being resourceful—we used the leftover scraps from the frames to make their tent name tags!) The girls had a blast with this craft. Each girl decorated her coffee filter, and then we sprayed them with water to let the colors blend beautifully. Once they dried, we hot glued them to the frames.
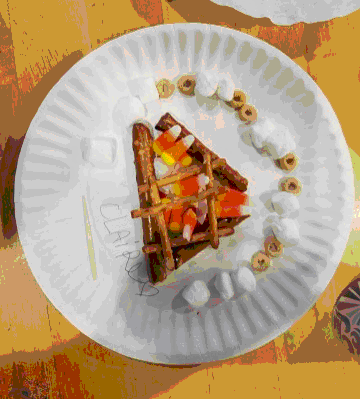
For the final activity of our indoor camping sleepover, the girls put together some delicious edible campfires. It was both fun and tasty!
Finishing up the Evening
After they finished all their projects, we had them change into pajamas, brush teeth and get ready for bed. They watched a movie, “Trolls”. We had a second movie ready, we were planning on making sure they were worn out and ready to sleep. And the most amazing thing happened. After the first movie ended, these girls all got up and said it’s time for them to get in their tents and go to bed. ON THEIR OWN!! Of course there were a few conversations and silly giggles before sleep happened, but it really was minimal. We woke up, made some pancakes and bacon and started getting the girls packed up and ready for their parents. Using a screwdriver we disassembled all the tents so the girls could easily take them home.