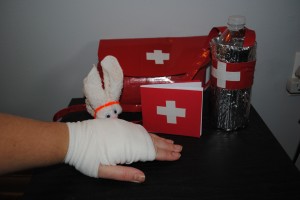
How to Make A Boo Boo Bunny
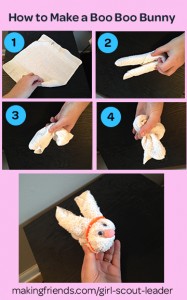
1. Roll the wash cloth starting in corner.
2. Once rolled fold in half
3. Take folded washcloth and fold again
4. Take a rubber band or just simply use the pipe cleaner in kit to wrap the head portion of the bunny
5. Now glue on eyes, nose and tail and your Boo Boo bunny is complete.
We actually had extra supplies lying around and the girls added a bonnet to the bunny and a few of the girls choose to use white pipe cleaners instead of the color pipe cleaners.
How to Make a First Aid Bag out of Duct Tape
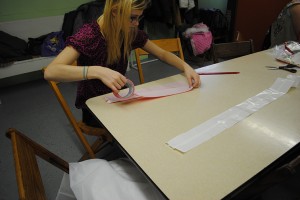
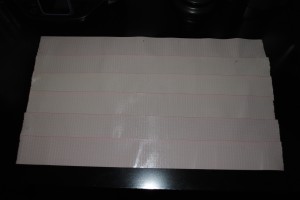
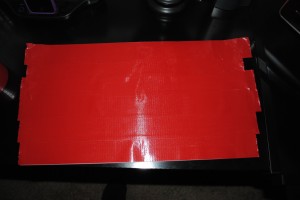
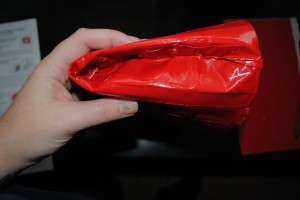
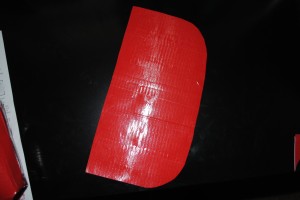
I created a sheet of duct tape, by over lapping 6 pieces of duct tape next to each other, with sticky side up. I made the length as 17 inches
Laid another 6 pieces of duct tape on top of the sticky side to create the sheet of duct tape. This part can be tricky because once you lay the tape on top of the sticky piece it is very hard to get that tape back up. This is sometimes done best if girls pair up and help each other.
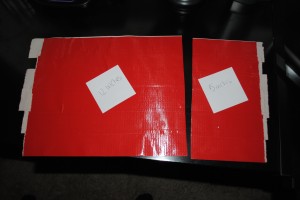
Now take a ruler and measure out the pieces so one is 14 inches and the other piece is 3 inches.
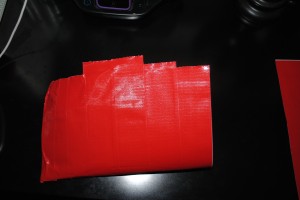
Take the larger piece and fold in half
Tape each side of the larger piece with duct tape with another piece of tape and fold excess into the inside.
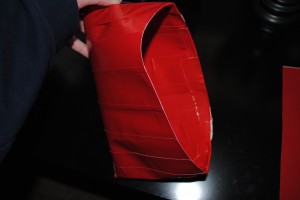
Take the corners of the bag you have created and push the tips inward giving the bottom portion of the bag shape.
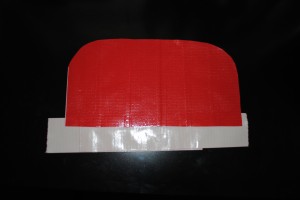
Take the smaller piece and use scissors and round the corners.
Lastly take the smaller piece and tape to the larger bottom to create the lid of the First Aid Bag.
Add the Cross on front of bag, if your kit came with white tape the smaller cross will be red, if kit came with Red Duct tape the smaller cross will be white.
Now your girls can add all their first aid supplies into the first aid kit. I actually had a few girls even create handles to their first aid bag. The things you can do with duct tape are endless.
Relay Game to Reinforce the Use of Elastic Bandages
Elastic Bandage Relay:
Have the girls line up in relay type formation. Have one girl on each team go to other end and act as the victim. Leader calls out a body part, the first girl in line must run down to girl “victim” and bandage that part of the body. When complete she takes the place as the victim and the next girl in line comes to rescue her. Once every girl has gone through and has been victim and rescuer, choose a different body part and do it again. We did this three times, once for arm, leg, and I even said head injury as last option, girls had fun while also learning about first aid.



Leave a Reply