Recycled Cookie Carton Fort
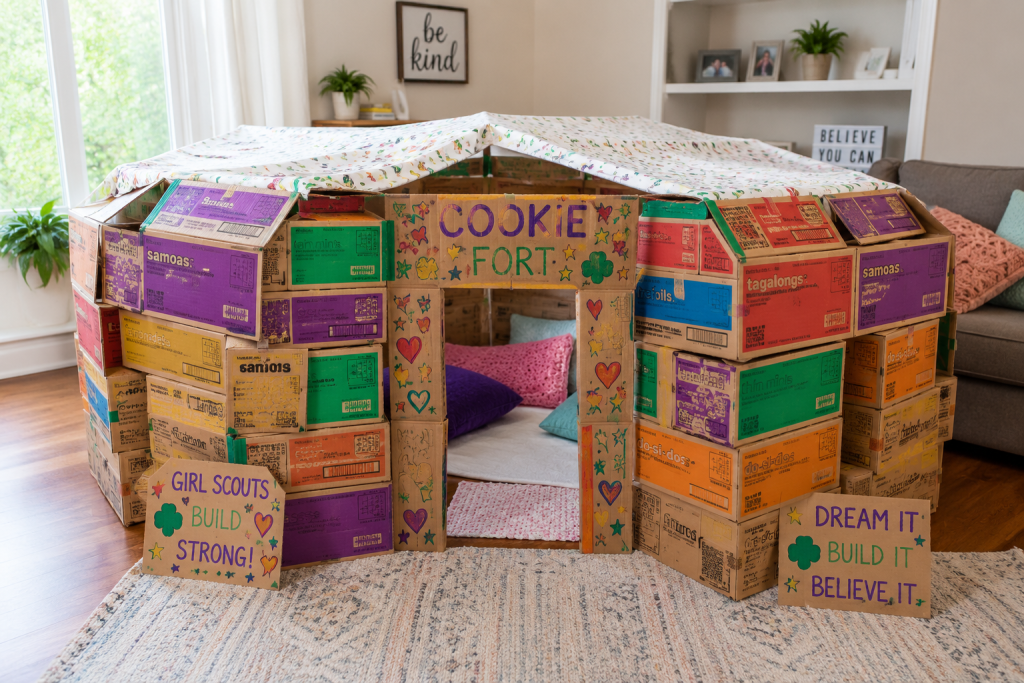
Don’t toss those empty Girl Scout cookie boxes—turn them into an amazing fort! This recycled cookie carton fort is a fun way for girls to work together, get creative, and practice basic building and engineering skills. There’s no single “right” way to build it, so give the girls plenty of boxes, tape, and decorating supplies and see what they create. When the building is finished, add blankets and pillows and enjoy your new troop hangout!
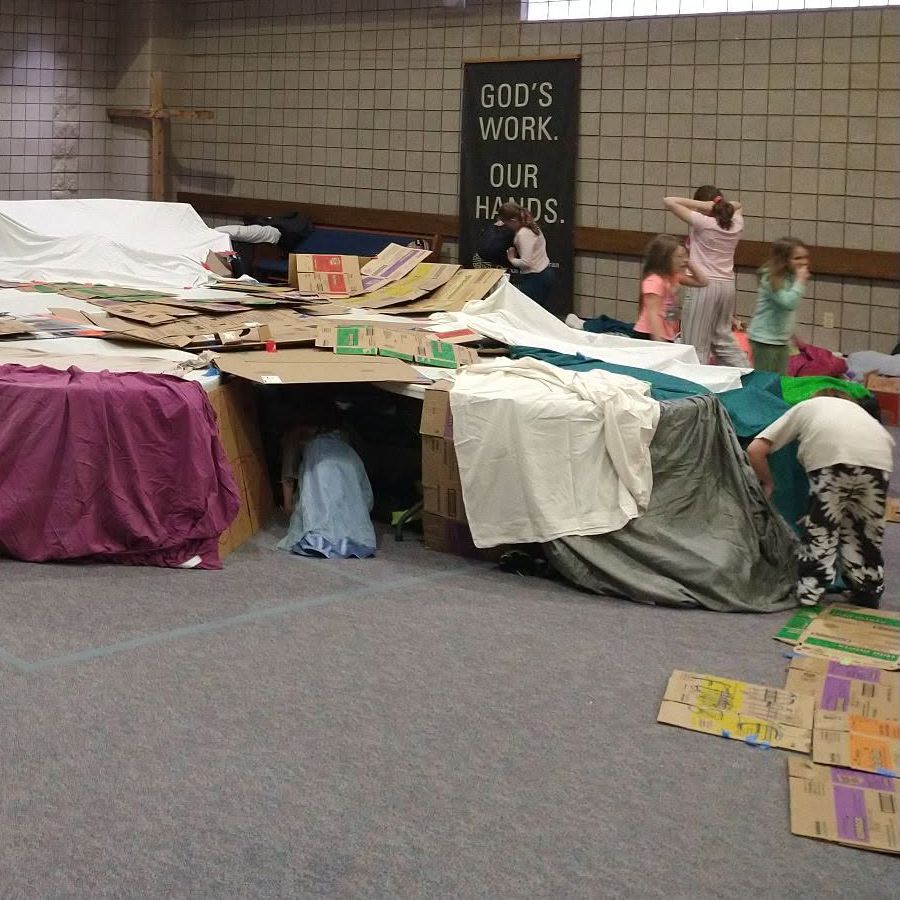
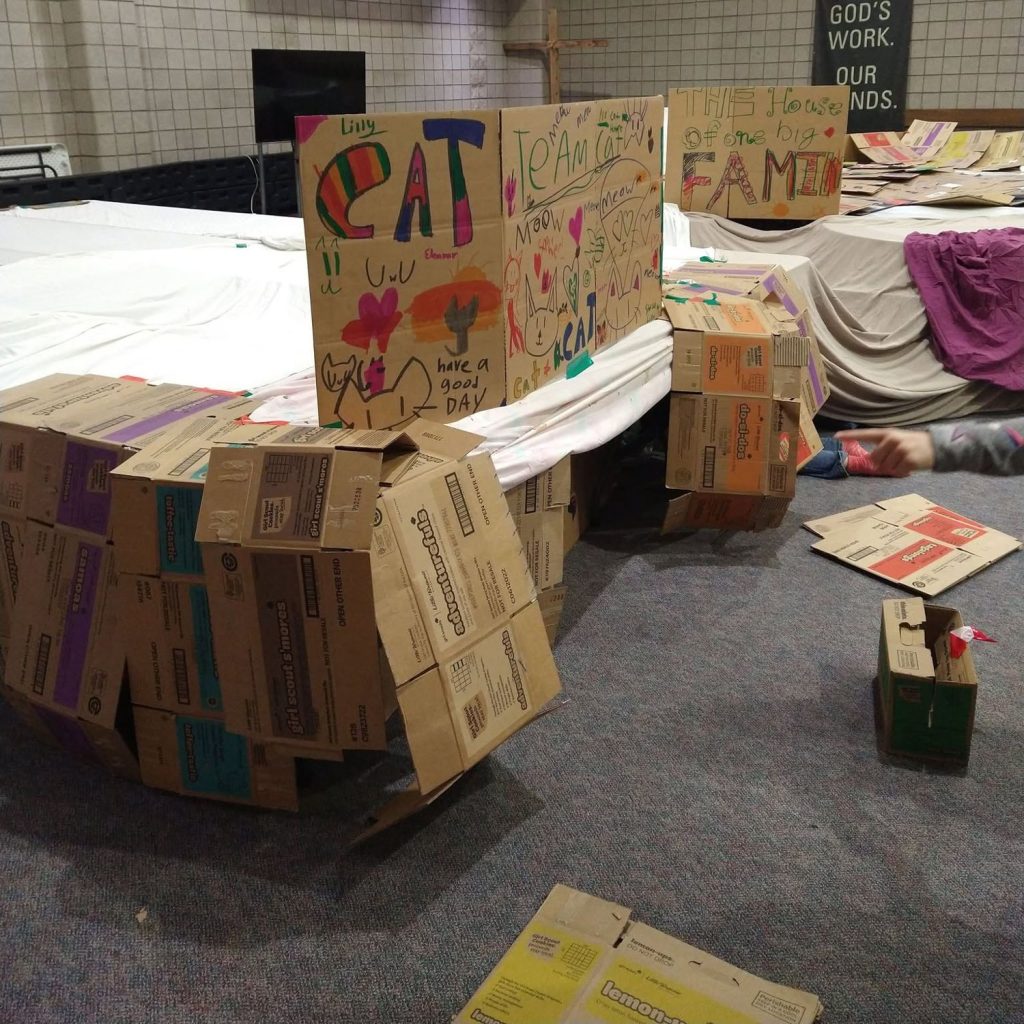
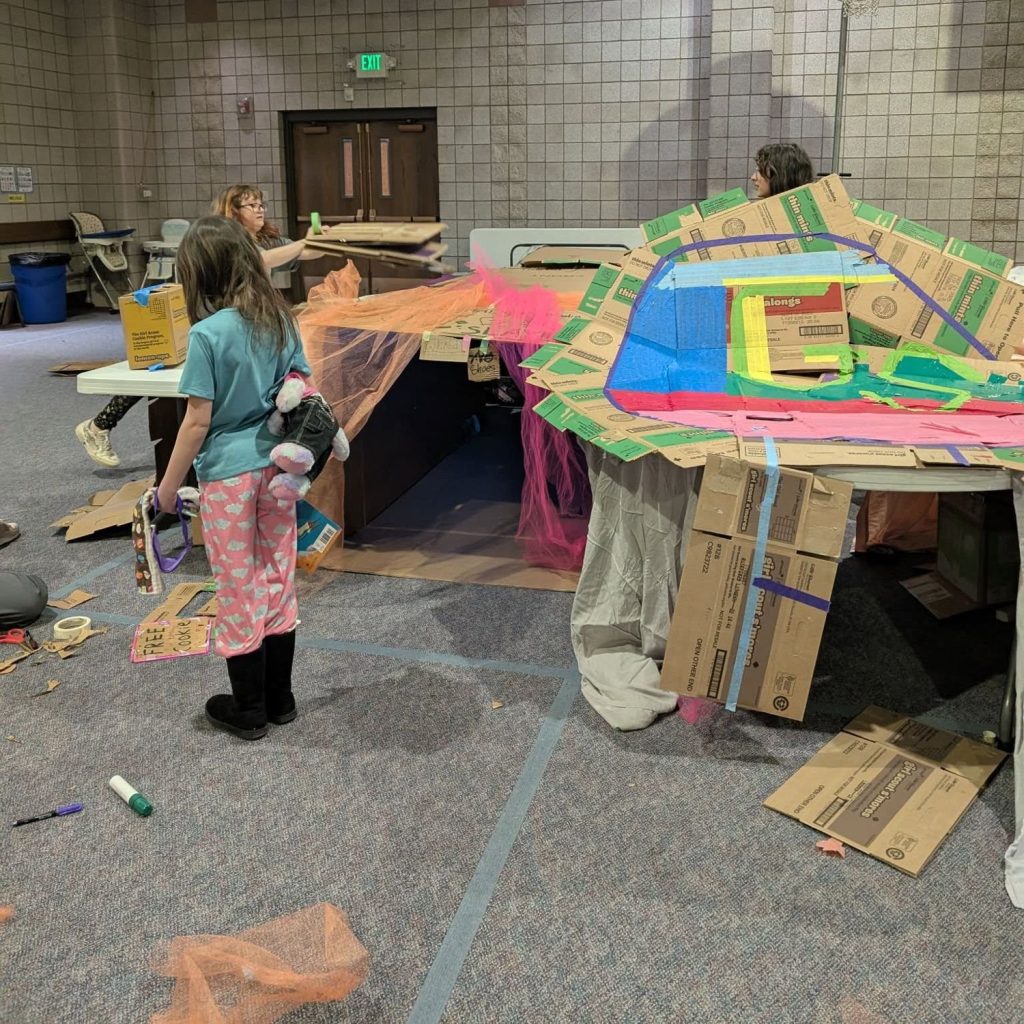
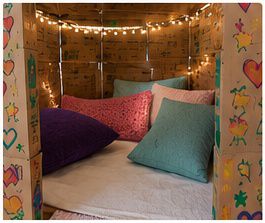
Thanks go to Nicole Turnquist for this great idea. Here are a few of the forts her girls have made over the years.
⭐ Beginner | ⏱ 2 hours+ | 💲 $20 | 👧 Ages 8+
Supplies:
☐ Lots of empty Girl Scout cookie boxes (same size works best)
☐ Packing tape or masking tape
☐ Large cardboard pieces (for the roof)
☐ Blankets, sheets, or tablecloths (for the roof cover)
☐ Something to keep the roof up, like a coat rack
☐ Markers or paint (for decorating)
☐ Optional: scissors, box cutter (adult use), pillows, rugs, string lights
⚠️ Leader Note: Box cutters and craft knives should only be used by a responsible adult.
Instructions:
1. Collect and Prepare Your Boxes
Save and clean empty cookie boxes. Remove any tape or labels. Try to collect enough boxes to build sturdy walls around your fort area.
2. Plan Your Fort
Decide how big you want your fort and where the doorway will go. A simple rectangular or square shape works great. Lay out the boxes before taping to make sure you have enough.
3. Build the Walls
Stack the boxes to build the walls, using tape to secure each layer. For extra stability, stagger the boxes like bricks. Build 3–4 boxes high for strong walls.
4. Add the Roof Supports
Place large cardboard pieces across the top of the walls to create a roof. Make sure the cardboard overlaps the walls on all sides for support. Place a coat rack or other tall structure in the middle
5. Cover the Roof
Drape a blanket, sheet, or tablecloth over the roof for a cozy feel. Tuck the edges down inside the fort or over the sides.
6. Decorate Your Fort
Use markers, crayons, or paint to decorate your fort! Add signs, drawings, and positive messages to make it your own.
7. Make It Cozy!
Add pillows, rugs, blankets, and lights inside your fort to make it the perfect place to read, relax, or imagine!
Tips
💡 Use the same size cookie boxes for the sturdiest build.
💡 Double up boxes for the bottom layer if you want extra strength.
💡 Ask an adult to help cut cardboard pieces if needed.
💡 This fort is for indoor use. Keep it away from water.
💡 When you’re done, take it apart and recycle the boxes!
Don’t forget the fun patch!
Why We Love This Activity
💜 Puts cookie boxes to good use — It’s a creative way to reuse all those empty cartons after cookie season.
💜 Encourages teamwork — Girls can plan, build, problem-solve, and decorate their fort together.
💜 Sneaks in STEM skills — Figuring out how to make sturdy walls and support a roof introduces simple engineering concepts.
💜 Lets girls take the lead — There’s no perfect design, so girls can experiment and come up with their own ideas.
💜 Uses inexpensive supplies — Most of what you need can be recycled or found around the house or meeting place.
💜 The fun continues after building — Once it’s finished, the fort becomes a cozy spot for reading, games, troop activities, or just hanging out.